
During an after-effects lesson, we installed a plugin called Duik which allows people to create animations easier by having control over one joint of a limb for example, and having the other joints follow automatically. To practice this, we were asked to animate a basic arm.
HOW?
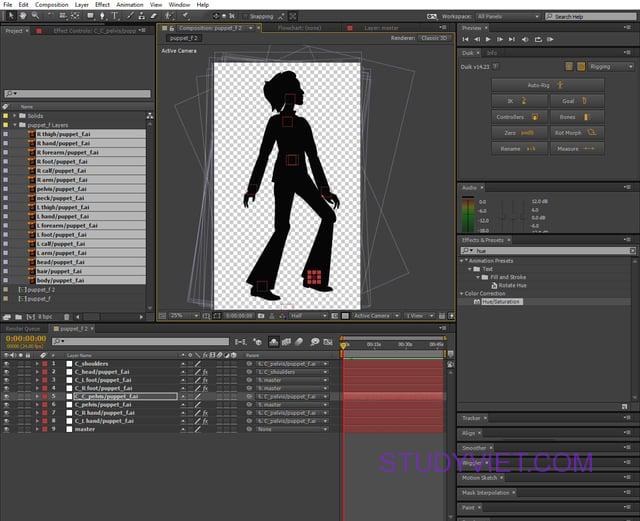
Before starting, you must name each piece/joint of the arm otherwise there will be spaces in the animation, for example, L_arm = left arm.
Then, we create a controller to control the different functions of the arm. e.g. one for rotation, X-axis and Y-axis. Be sure to change the size and colour of the controller. In this case, we put the controller in the place of the hand, as then the other joints will follow what the hand does. (Note: you will only need to see the controller’s layer and not the other joint’s layers, so click on the “shy-guy” on the layers tab to hide the separate layers
When making the animation, make sure you work reverse from the controller, so from the controller an arm would be 4=controller, 1=forearm, 2= elbow and 3= arm.
For each frame, simply move the parent part of the limb you are moving, and the rest of the limb will simply follow the controller. This creates more natural looking movement in the animation and is far easier than having to move each part of the arm frame-by-frame on it’s own.
